Getting Ready for Orchids Galore with Fabric Plant Pockets
by Grace Chapman, Director of Horticulture, Lewis Ginter Botanical Garden
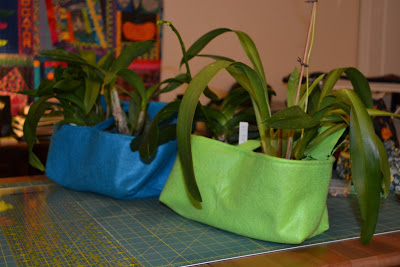
This year for our Orchids Galore! exhibition at Lewis Ginter Botanical Garden, we are focusing on a rainbow of colors. The exhibition opens on February 14th, so I won’t give away all of the secrets just yet, but one of the features is a series of green walls. I was inspired by Woolly Pockets, which are fabric pocket planters that hang on the wall. I thought this would work great for orchids and since felt is available in many bright colors, the containers could help to drive the rainbow theme. I’m constructing a series of pockets that will hang on bamboo rods against a free standing plywood backboard. Each board will have 18 pockets, so I have to make 72 of these pockets… I didn’t think about that when I came up with this idea. I’d better get started sewing!
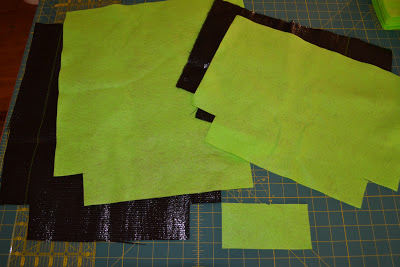
Below are my instructions. The original Woolly Pockets have grommets so they can hang on nails in the wall. This pattern can easily be adapted to include those if a rod is inconvenient. I lined the pockets with ground cloth to give it a little stability that would be waterproof. I plan to cut a couple of slits in the bottom for drainage. The nice thing about felt is that you don’t have to finish the edges.
I think this is the first project that I have done that combines the “sewn” with the “grown” from my blog’s name!
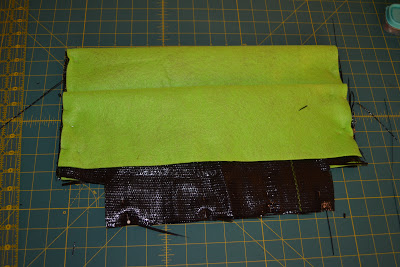
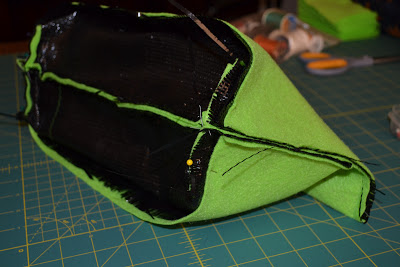
Flip the stack over and fold the 16 ½” x 18 ¼” felt and ground cloth over so the final size from the notch to the fold is 8”, pin in place.
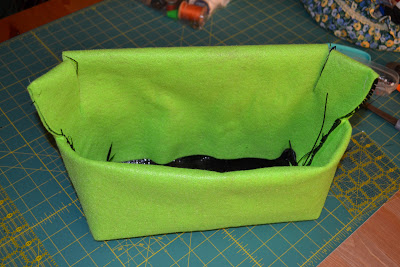
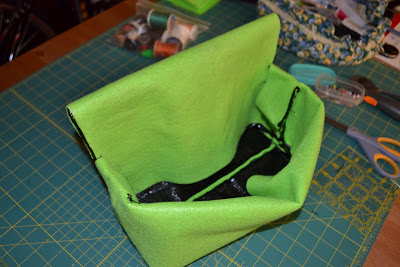
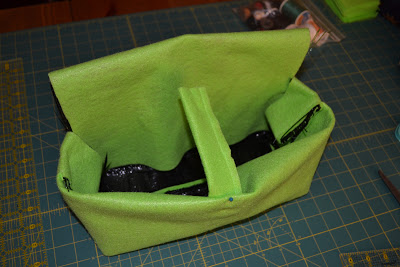 Fold the 3” x 6” felt strip in half length-wise. Sew long edge to create a 1 ½” x 6” strip. Pin the strip to the inside center of the front pocket.
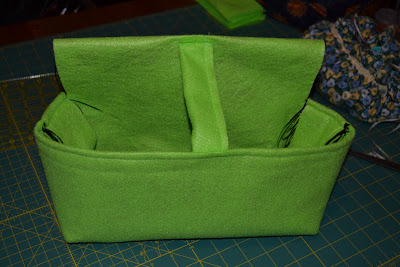
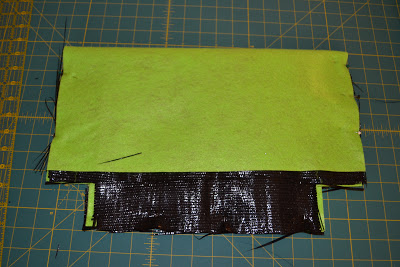
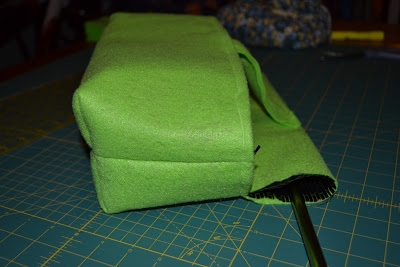
The open edges that resulted from the slit being cut should be left open. The bamboo hanging rod will be slid through the opening (the photos below are shown with a metal rod).
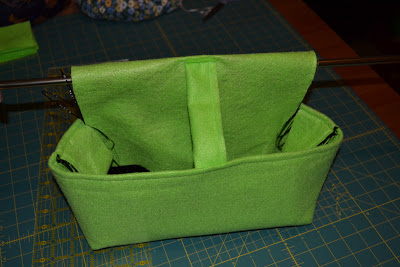
Update: Turns out this alot more sewing then we thought! Grace would like to thank Garden volunteers Mariette Norbom and Barb Sawyer who helped sew the plant pockets and Garden volunteers Carol Gill and Kathy Wyatt who helped cut the fabric for this project.
