DIY Vole Cages, aka Hosta Cages
by Jonah Holland , PR and Marketing Coordinator, Lewis Ginter Botanical Garden
Lewis Ginter Botanical Garden Flagler Garden Horticulturist George Cowart has been fighting a battle. A battle of the voles. The truth is, I never met a gardener who didn’t hate voles. They are known for wreaking havoc in a garden, destroying an array of plant-life, but hostas in particular. Shortly after meeting my father-in-law for the first time, I remember the searing image of a death-trap he showed me that he used to control the vole population in his suburban yard in Burke, Va. He and the voles had something in common — they both loved hostas. Voles like to eat them, which precluded him from enjoying them his way — planted in his landscape.
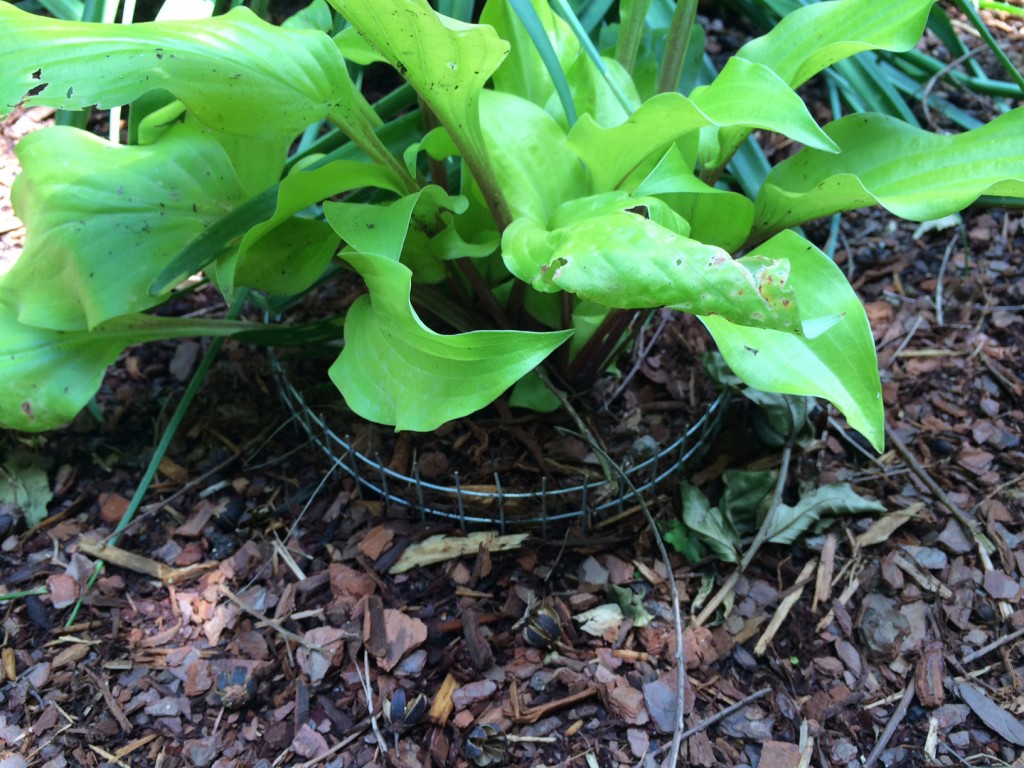
Luckily, here at Lewis Ginter, horticulturist George came up with a far kinder and more humane solution: vole cages. No, it’s not what you are thinking. And in fact to avoid confusion, we stopped calling them “vole cages” and we stared calling them hosta cages. The goal: keep the hostas in, and keep the voles out! George and his volunteer helpers made an fleet of these cages using on winter on days it was too cold to work outside all day. We think he’s pretty crafty, so we’re sharing his step-by-step process so you can make your own at home. The vole cages are easy to make using 1/2-inch wire cloth. George has been installing them, one-by-one in the Flagler Garden landscape. And the hostas? They’re looking better than ever. Thanks George.
Want to know how to make your own hosta cages? Here’s what you’ll need and a step-by-step process.
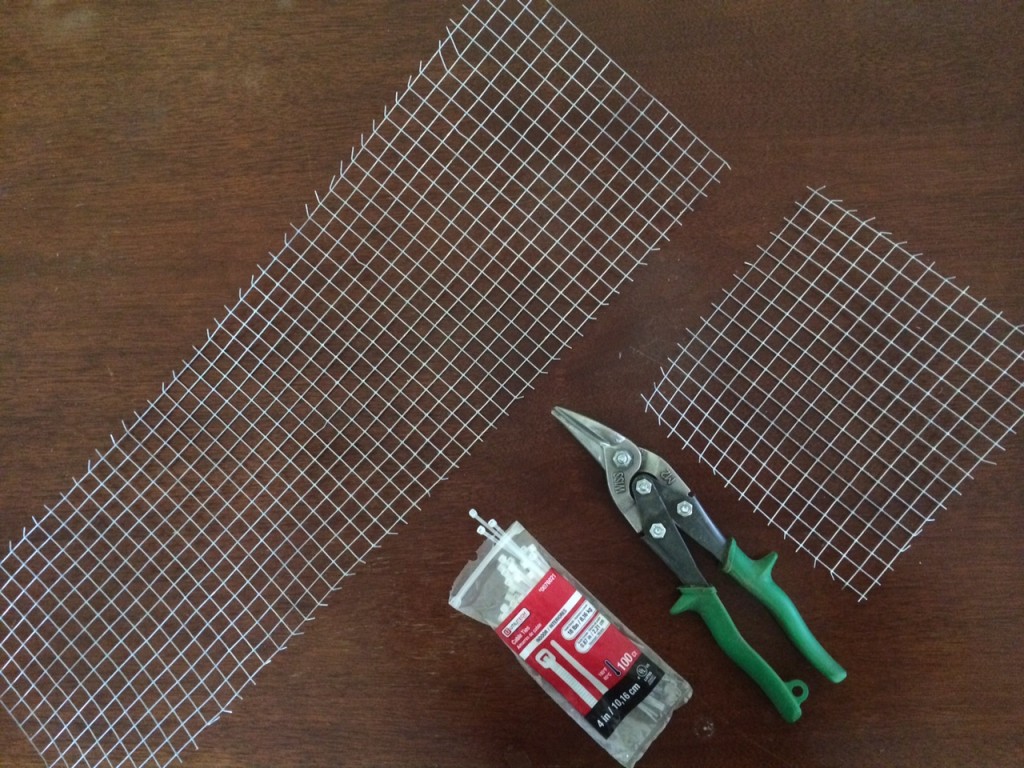
Supplies to make hosta cages. Start with 1/2-inch wire cloth, tin snips and cable ties. A great way to measure what size you’ll need to cut the wire cloth is to take the pot that the hosta comes in from the nursery and measure a piece that is just as high, and can wrap fully around the pot, then add a few extra rows of wire mesh so you can overlap it when you create the circle. Ours is 48 block sections long, and 15 sections high. The bottom piece is 15 x 15. Be sure to use eye protection when cutting the wire, pieces can snap off. It’s also a good idea to wear gloves, the edges of the wire can be sharp.
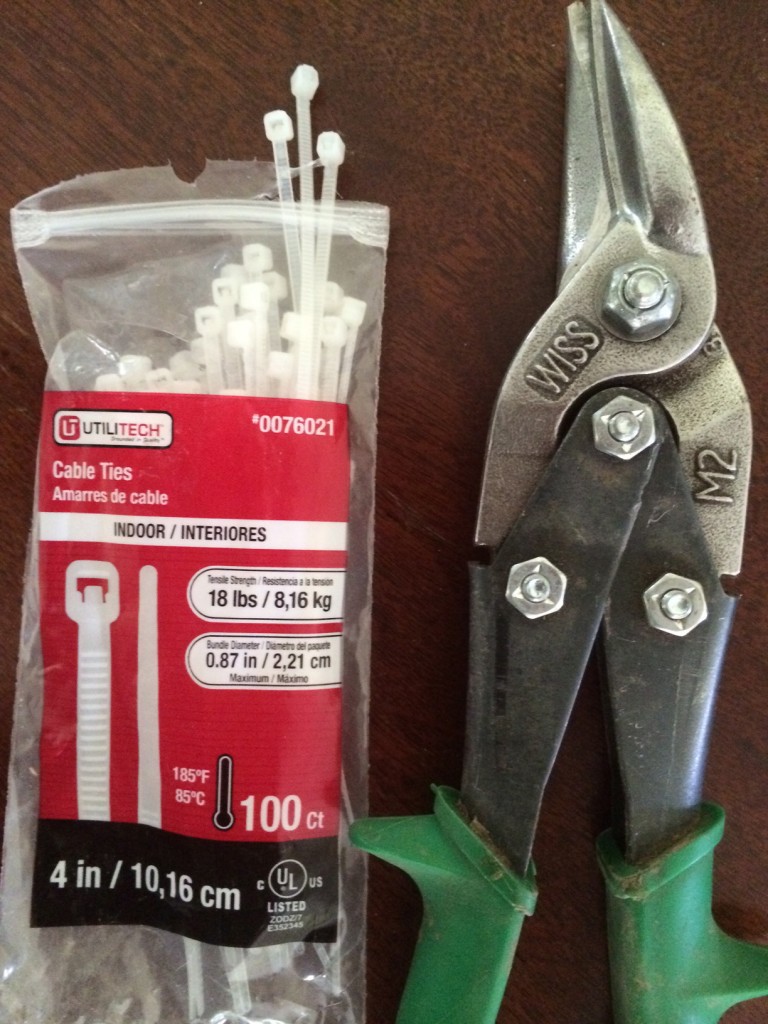
You’ll need cable ties like this — 18 lbs, interior, 4-inch cable ties is what we used. Make sure they are rated for 185 degrees.
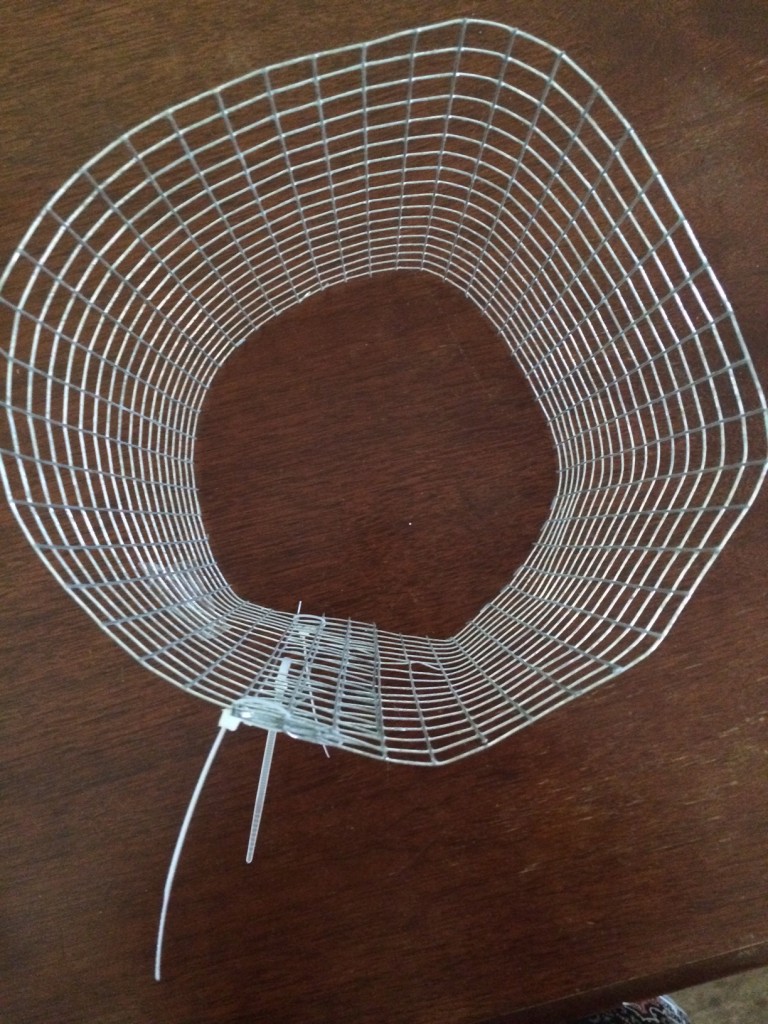
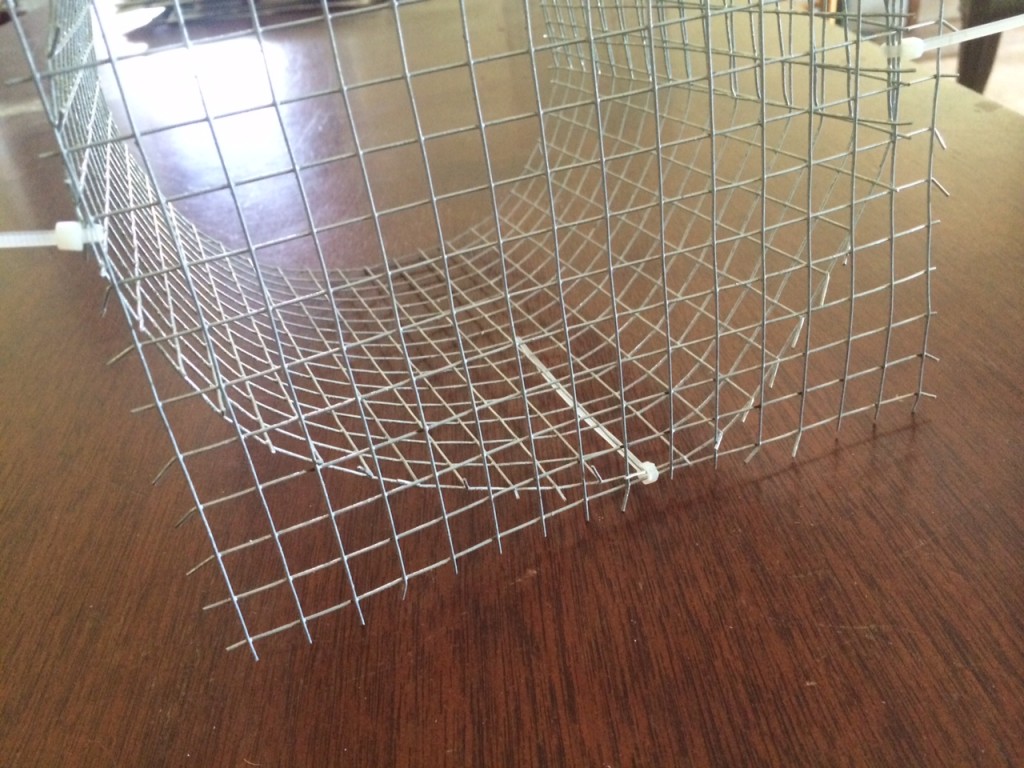
First make a circle with the larger piece of mesh wire cloth, be sure to overlap the wire cloth (don’t fold it back). Thread cable ties through the wire in 3 spots, top, middle & bottom. You can wrap it around a garden pot to help make the form if it is easier. Be careful, often the wire cloth wants to spring back into its original position.
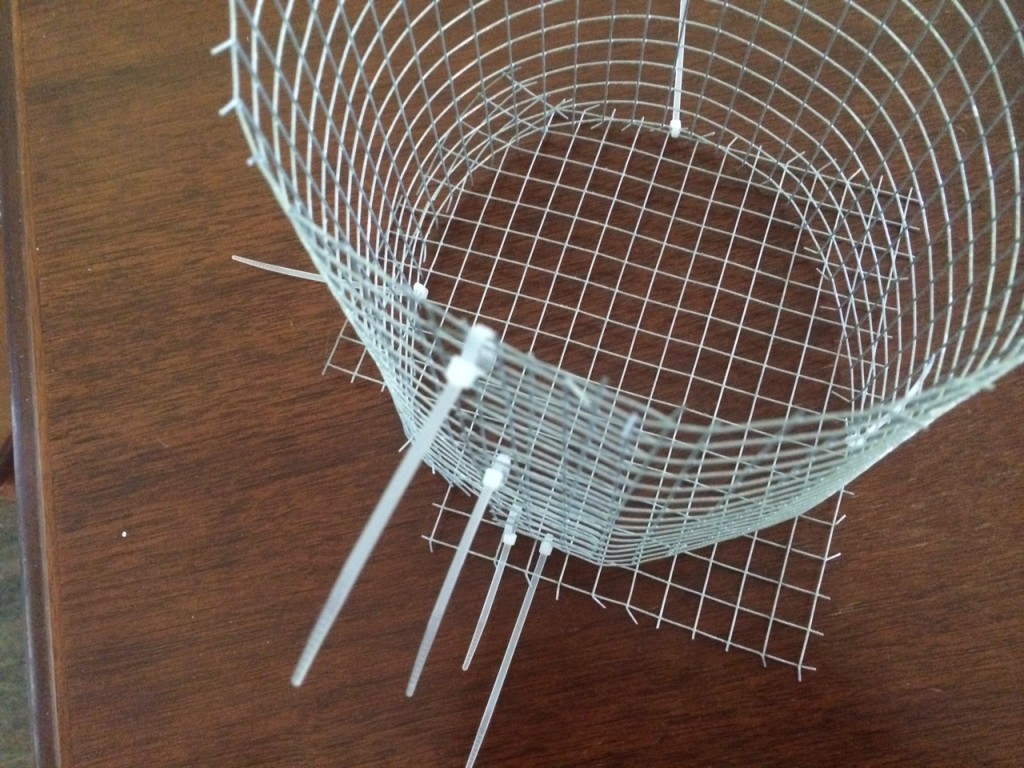
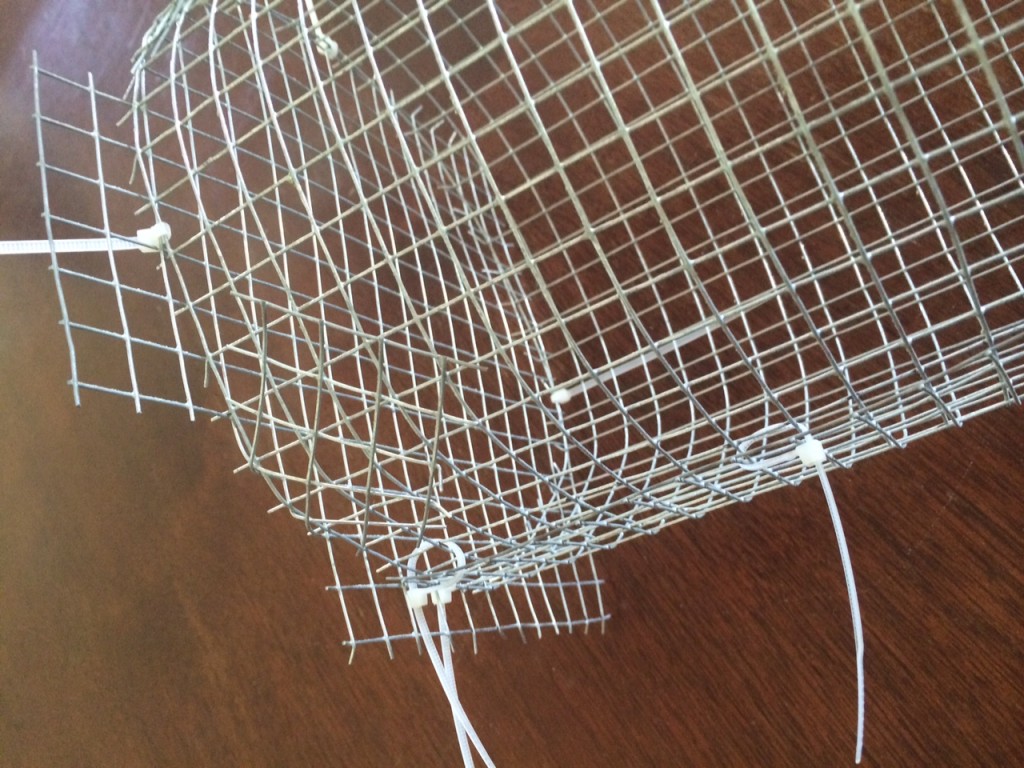
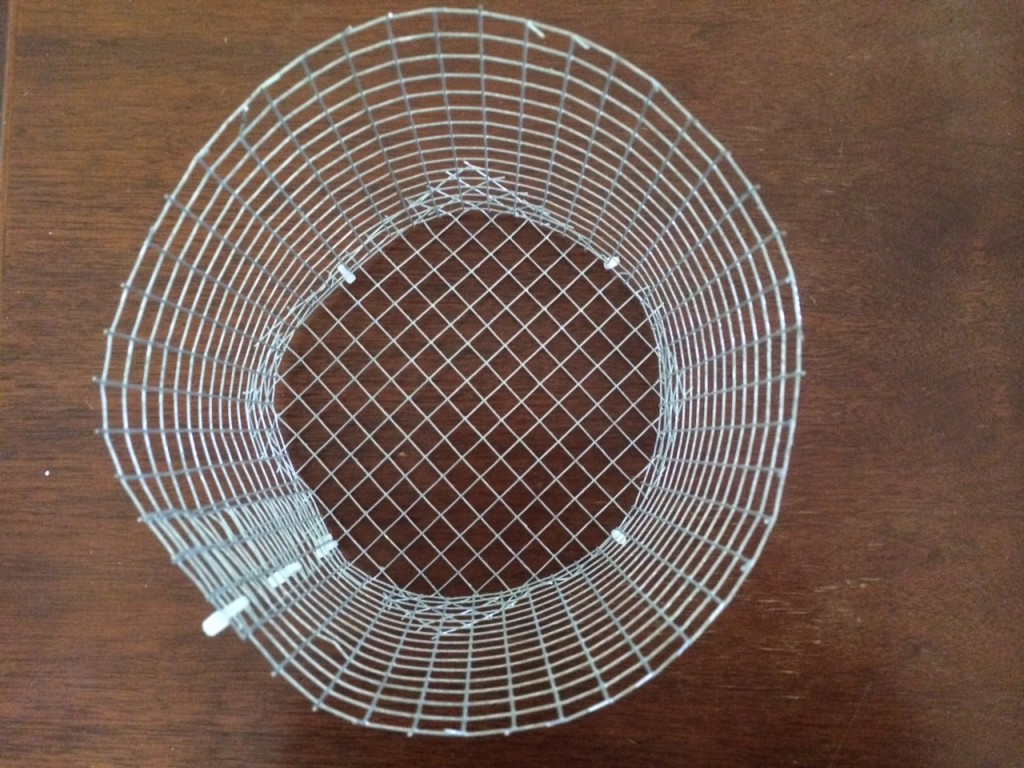
The corner view from the top. Cut slits in corners to bend up (fold up without bunching, like you would for wrapping a package) and place 4 more zip ties, one on each side to hold the bottom.
